The My Council Services platform allows for organisations to configure Booking transactions on their systems. This allows their customers to make and pay for bookings related to goods and services provided by the organisation.
HWRC (Household Waste and Recycling Centre) Bookings allow organisations to configure bookings specifically relating to HWRC.
Note
The Booking module requires a license to use. If you are interested, please contact Abavus Support. We are available via isupport@abavus.co.uk
What steps do I need to follow to set up HWRC Bookings?
There are four pre-requisites needed before you can start setting up HWRC Bookings on your system. They are as follows:
We will need to upload a Shape File from your council in order to apply your council boundaries to your MCS instance. We need the individual round polygons. They can be in one shape file, but the individual polygons need to be included in the file. Please ask your GIS team to provide this, and send the Shape File to support@abavus.co.uk
You will need to have Booking Statuses and a Booking Transition configured in your MCS instance. Instructions for how to do so can be found here:
https://itouchvision.freshdesk.com/a/solutions/articles/101000401432?portalId=101000046518
You will need to configure a HWRC Product to be assigned against any HWRC Booking requests you receive. Instructions for how to do so can be found here: https://itouchvision.freshdesk.com/en/support/solutions/articles/101000401455-how-do-i-create-a-hwrc-product-
HWRC Group
You will need to configure a HWRC Group to be assigned against any HWRC Booking requests you receive. This is a simple process - go into Community > Group > Add, and create an Internal Group with an appropriate name. You can add relevant members of your organisation to this Group if you wish.

Once the above pre-requisites are fulfilled, you will be able to complete the HWRC Bookings configuration process.
Go into Administration > Waste > Collections

Click '

On the following screen, enter an appropriate name, and then click '

Now click on the "Type" tab to be brought to the following screen.

Click , and enter an appropriate name. Tick the box on the left side of the row, and then click to apply.

Now click on the "Round" tab to be brought to the following screen. Click

The following screen will appear, where you can begin to configure the Waste Round itself.
Give the Round an appropriate name. Under the "Details" section, select the Collection Type you created earlier, and specify the Area provided by your Shape File. The "Optimise round" and "Allow multiple collection" options are not needed for HWRC Bookings.
Set the Day(s) for when HWRC Bookings will be available, and select the Waste Type you created earlier. "Frequency" is split into seven day blocks, denoting how often slots for HWRC will be available for booking.
For example, if the Frequency is set to "7 days", the slots will be available every week (Mon 1st, Mon 8th, Mon 15th, etc).
If the frequency is set to "14 days", the slots will be available every two weeks (Mon 1st, Mon 15th, Mon 29th, etc).
The "Number" field is the Round number. This can be whatever you want, depending on your requirements. It's recommended that you make it something easily recognisable (e.g. REFUSE01).

In the "Active" section, set the "Effective Start" date to the Sunday before HWRC is due to start. For example, if HWRC starts on Monday 25th, set the Effective Start date to Sunday 24th. The "Effective End" date should be on the day when HWRC is due to end.
Set "Allocated from" to "Round", then scroll back up and click '
Go into Administration > Bookings and Appointments > Items

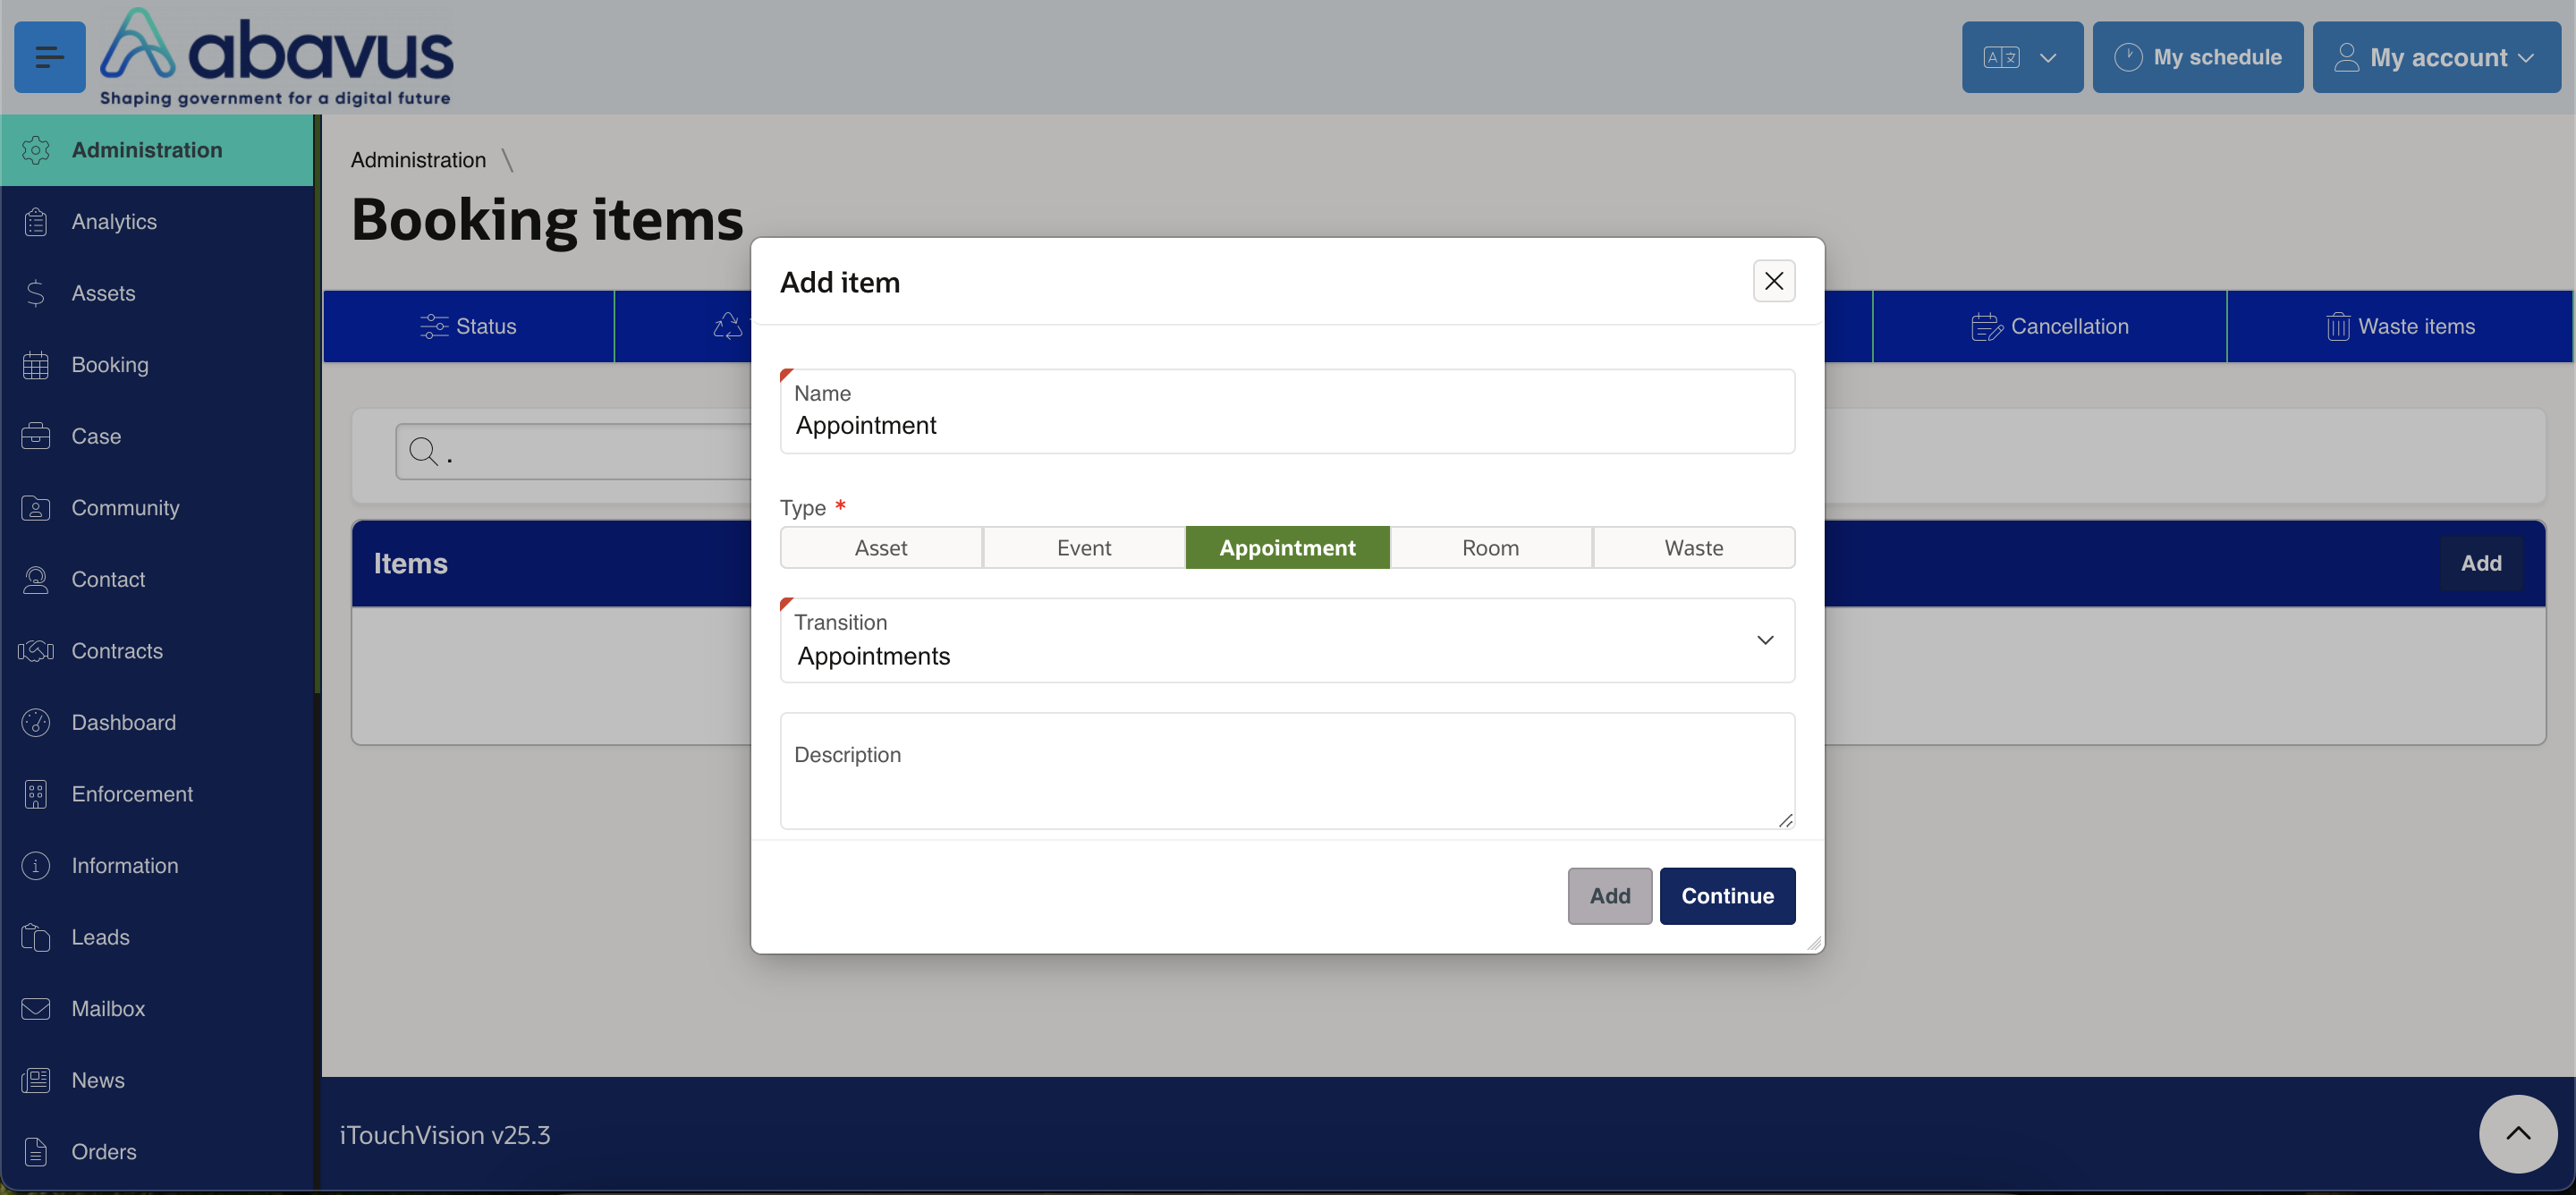
Click

The following pop-up will appear. Enter an appropriate name, set the Type to "Appointment", and select your Booking Transition.
Click
You will be brought to the following screen. There are several options available, so start by configuring the "Setting" section.
It's recommended that you allow HWRC Bookings to be cancelled, so set "Allow cancellation" to "Yes". The "Before time" field informs the system how late the customer can cancel their booking. If this is set to 1 Day, and their booking is due on Tuesday 2nd at 10:00am, they will not be able to cancel their booking after 10:00am on Monday 1st.
The "Start" field informs the system how early slots can be booked in advance. If this is set to 14 Days, customers will be able to book a slot 14 days in advance. Likewise, the "End" field works like the "Before time" field, except this will prevent customers from booking a slot with less than 24 hours notice.
The "Appointment time" is important. This informs the system how long each booking slot should be.
"Enable rooms" is not needed for HWRC, but it is important to set "Variety" as "Recycling Centre".
It's recommended that you your progress at this stage.
A new field will appear in the "Setting" section. "Display car reg plate no" can be left as "Yes".
"Next repeat in day" determines how often a car number plate can be used for HWRC. This allows Administrators to prevent customers from making repeat bookings within a certain timeframe, if required.
If this is set to "1", it can only be used once a day. If this is set to "7", it can only be used once a week. "14" is once every two weeks, and "30" is once a month. If the field is left blank, customers can book with their car number plate as much as they like.
This refers to the time after the original booking that the next one can be made. For example, if a booking is made on a Friday for the following Monday, and "next repeat day" is set to "1", the next time the customer will be able to complete a booking using the same number plate will be Tuesday.
Now click on Add > in the right side menu.
The following pop-up will appear. This is where your HWRC Product comes into use, as this will be the name of the HWRC Booking available to customers when they use a HWRC Booking Form. Enter a name, and select the HWRC Product you've made. The "Number of booking spaces" will auto-populate for HWRC.
Click to finish.
Now click on Add > in the right side menu.
The following pop-up will appear. This is where your HWRC Group comes into use, as this will determine the number of available slots on any applicable day(s). DO NOT use the "Person" type for HWRC.
Select the HWRC Group you've created, and then determine the capacity. Larger capacities (40-50) mean more bookable slots, but also longer load times, as the system has to check every slot and pull through the ones that are currently available.
Click to finish.
Now click on Add > in the right side menu.
You'll be taken to another screen with many blank fields. You will need to click on Add > in the right side menu to begin populating them.
Note
You will not be able to edit or amend a Schedule Template once it has been created. If you make a mistake, or your requirements change, you will need to delete the old Schedule Template and replace it with a new one.
The following pop-up will appear. Give it an appropriate name, and then select the Round you configured (notice that the Round name given is provided by the "Number" field configured - this is why it's recommended to use an easily recognisable name).
It's VERY important that the Days and From/To Dates selected match with what you configured in the Round, otherwise the booking slots will not generate correctly. If you require a break (e.g. for lunch), enter the start and end dates for this break - this will inform the system not to generate slots between these times.
Click to finish.
The fields under "Details" on the previous page will populate.
Now you will need to configure the schedule.

Click on Add > to bring up the following pop-up. It may take a moment to load.
This is what will determine the timeframe for HWRC booking slots, so give the Schedule a name, and enter the Start and End times for a typical HWRC work day.
Click
It's important to wait for the fields in the "Schedule" section to populate.
Now click the button, and then on the main page. You have now configured HWRC Bookings for your system.
Go into Forms Builder and start configuring a new HWRC form.
When configuring the Item, double-check to make sure the Code is set to the following:
P_CAR_RECYCLE_CENTER_PLUGIN
Set the Item Type to "Plugin", and select "HWRC".
Scroll down to the "Advanced" section, and select the relevant Booking Item you configured earlier in Administration > Bookings and Appointments > Items. Then, the changes, finalise the Form, and then publish it for use.
Customers can now make HWRC Bookings using this Form.
Please be aware that you should only have ONE Item per HWRC form. If you have multiple HWRC sites, it's highly recommended that you set up separate forms for each of them, along with their own templates and schedules. Configuring them individually is much less complex, and much easier to troubleshoot if complications arise. Also note that Dynamic Fields used for Appointment Bookings will also work for HWRC Bookings.
Was this article helpful?
That’s Great!
Thank you for your feedback
Sorry! We couldn't be helpful
Thank you for your feedback
Feedback sent
We appreciate your effort and will try to fix the article