The MCS system provides organisations with the ability to configure File Picker and Advanced File Picker plugins within forms.
These plugins allow customers to upload files that are relevant to their issue, be it an incident report, or an application for a service.
IMPORTANT
We recommend that only ONE Advanced/File Picker plugin be used in a form.
What steps do I need to follow to configure a File Picker?
Go into Administration > Forms Builder, and select the relevant form.
Add a File Picker plugin item on the appropriate page. This will allow customers to upload pictures, videos, documents, etc.
If you want to limit the file types they can upload, the maximum file size of their uploads, and the maximum number of files they can upload, you can do so by scrolling down to the "Advanced" settings.
IMPORTANT
If you set the File Picker as "Primary:Yes", uploaded files will appear in the Image Gallery when a service request is submitted. If this is set to "No", uploaded files will be treated as regular fields. In this instance, you will be able to access uploaded files by clicking on their file names within the Information section within service requests


What steps do I need to follow to configure an Advanced File Picker?
You first need to add relevant Document Types to your system.
Go into Administration > Data > Document Types

The following screen will appear. Any Document Types already added to your system will be displayed here.
Click to start creating a new Document Type.
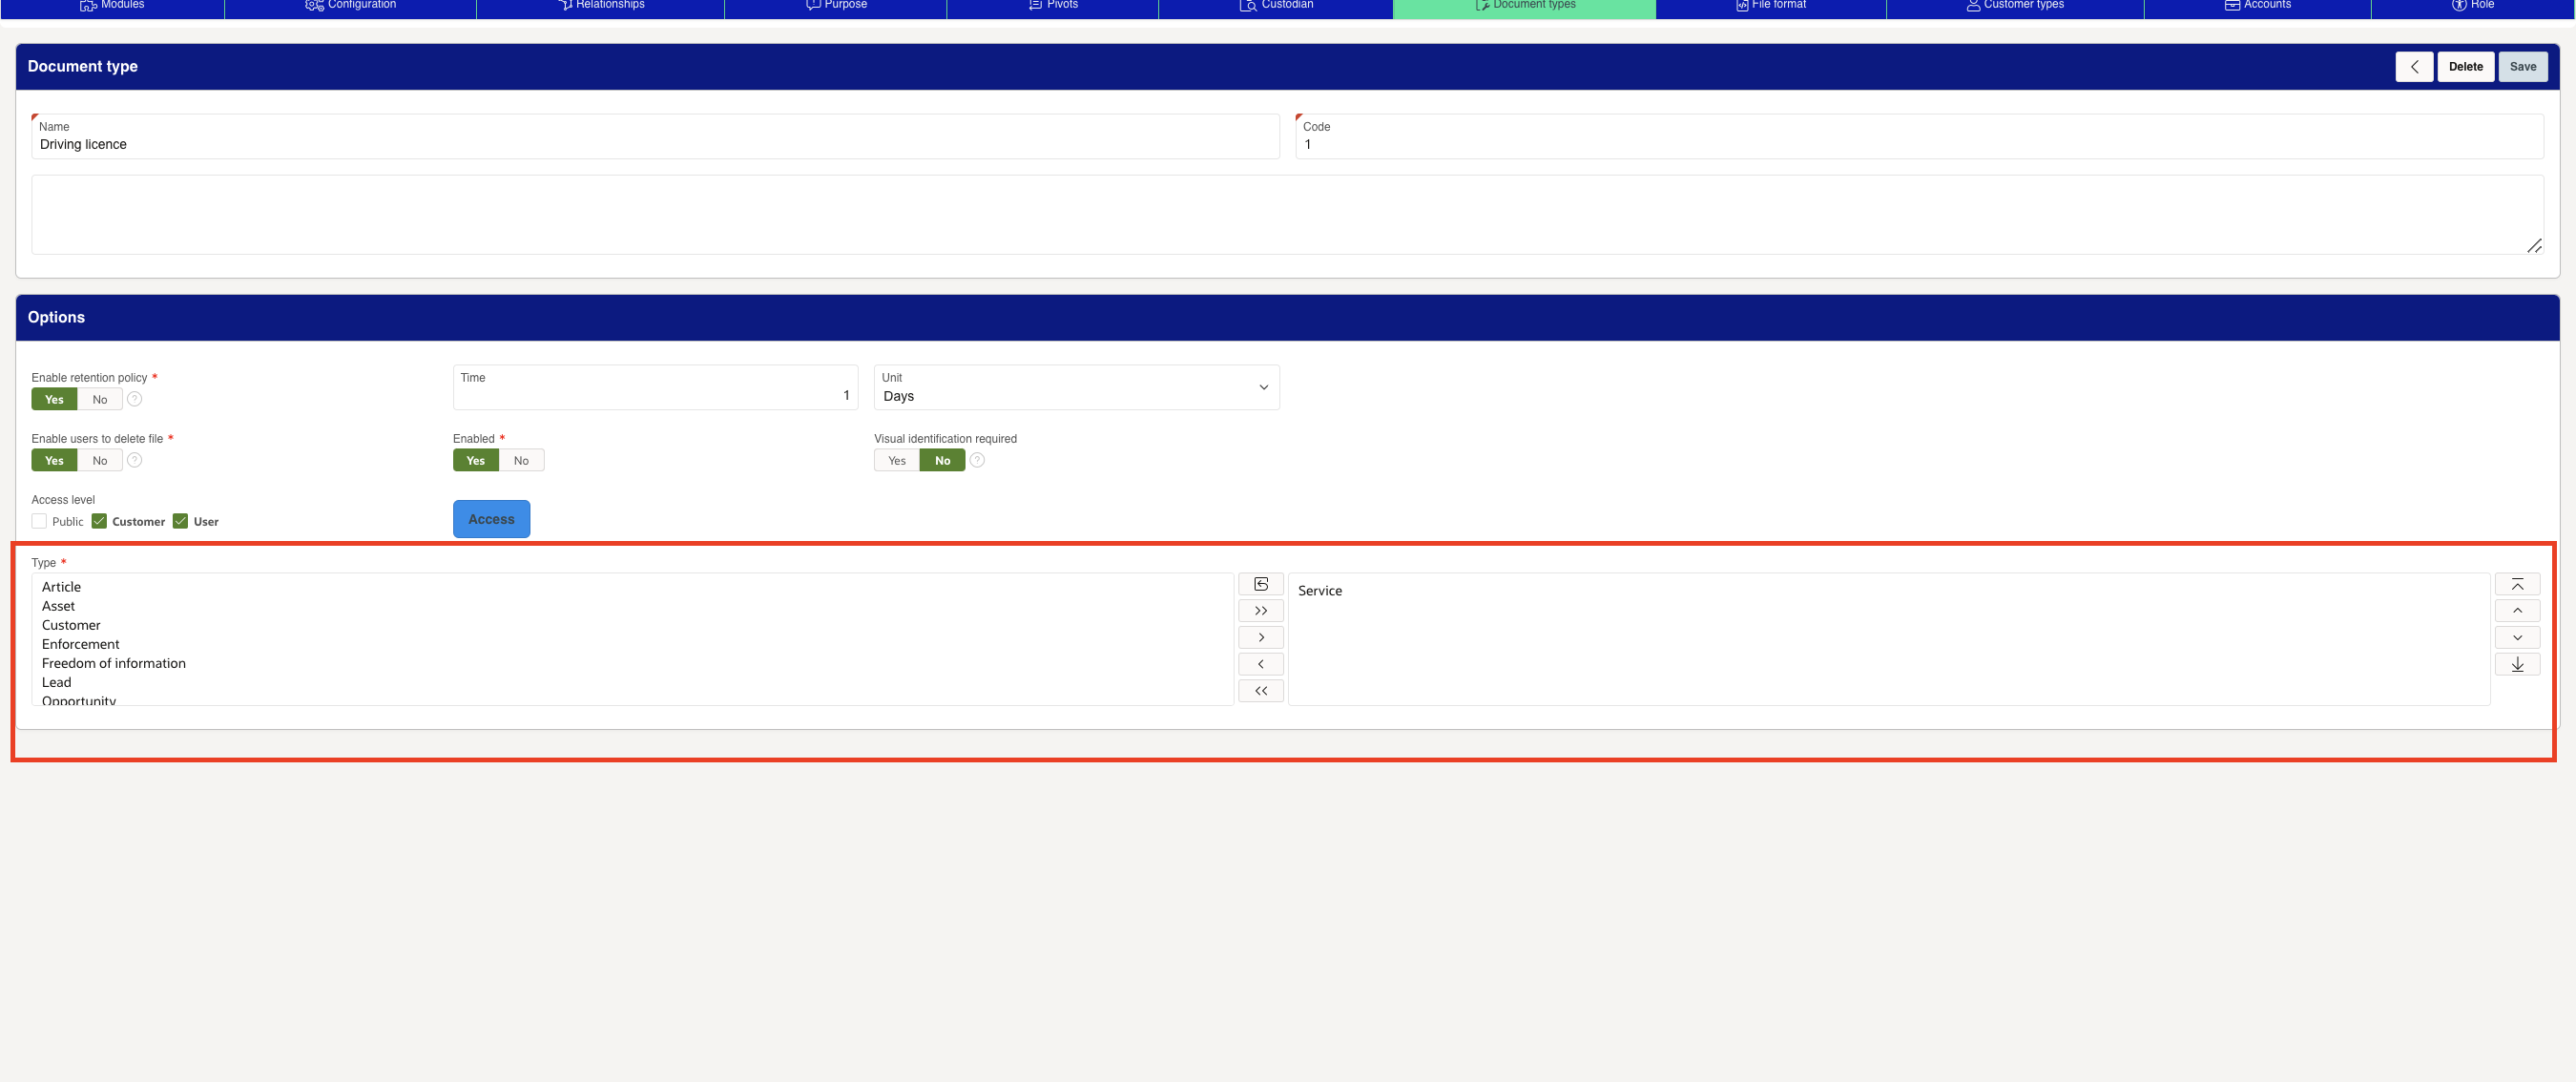
Give it a Name and a Code, then scroll down to configure the settings.
Setting this to "Yes" will add a retention policy to any files uploaded against this Document Type. At the end of the time specified, the file will automatically be removed from the system. For example, this can be used for sensitive documents, or documents that will go out of date after a period of time.
If this is set to "No", users will not be able to delete files uploaded against this Document Type. For example, this can be used for sensitive documents, or documents that play a key role when processing certain requests.
Some files need to be verified by an Admin User to complete the process. When this is enabled, files uploaded against this Document Type will need to be verified by an Admin User. This option is for the Mobile App only.
You can select which parts of the system this Document Type can be selected from. For example, if this Document Type only needs to be used within Service Requests, select the "Service" option.
After doing this, go into Administration > Forms Builder, and select the relevant form.
Add an Advanced File Picker plugin item on the appropriate page. This will allow customers to upload pictures, videos, documents, etc.
You will need to select the specific files required from the customer.
IMPORTANT
Setting "Required Documents: All" will mean that a customer needs to upload a file for each document type specified. Setting this to "Any" will mean that a customer only needs to upload one file. The "Max File Size" determines the maximum file size permitted for each individual file, not the sum of all files uploaded together.

Was this article helpful?
That’s Great!
Thank you for your feedback
Sorry! We couldn't be helpful
Thank you for your feedback
Feedback sent
We appreciate your effort and will try to fix the article