This module requires a license to use. If you are interested, please contact Phil Scott at phil@abavus.co.uk
The My Council Services platform now allows you to configure Room Bookings. This enables customers to book and pay for specific rooms within different facilities for meetings, consultations, gatherings, etc.
What steps do I need to follow to configure Room Bookings on my system?
You will first need to set up the Room Booking Asset, if you have not already done so.
Go to Administration > Assets > Category

The following screen will appear, where you can create a new Asset Category.
Click on to start.

Enter the relevant details on the following screen.
Click on to create the Asset Category.

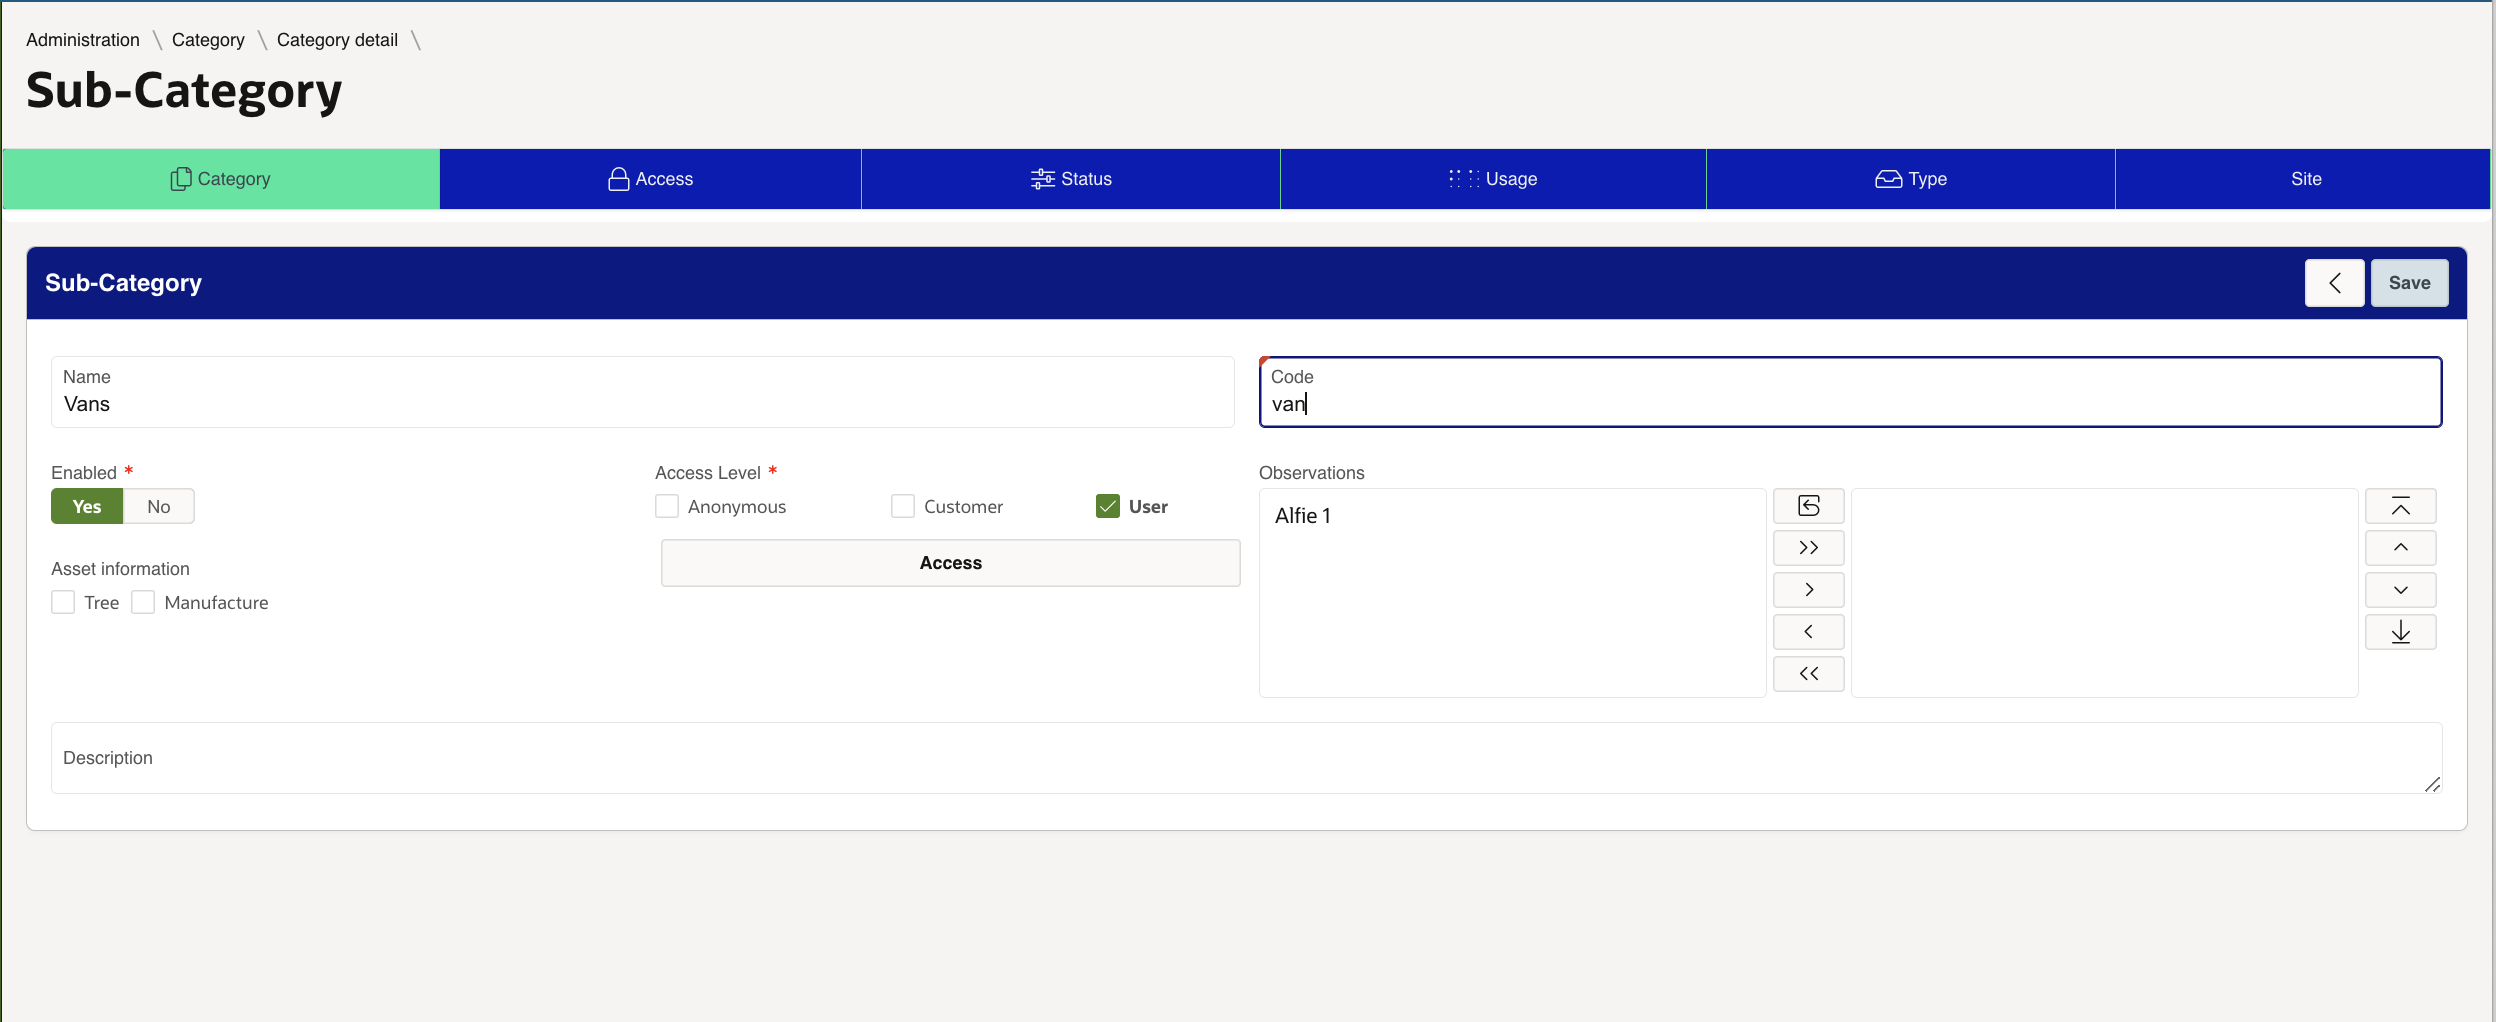
Edit the Asset Category you've created, and you'll now have the option to add a Sub-Category.
Enter the relevant details, and click on to create the Sub-Category.
Edit the Asset Sub-Category you've created, and you'll now have the option to add a Further Subcategory.
Enter the relevant details, and click on to create the Further Subcategory.

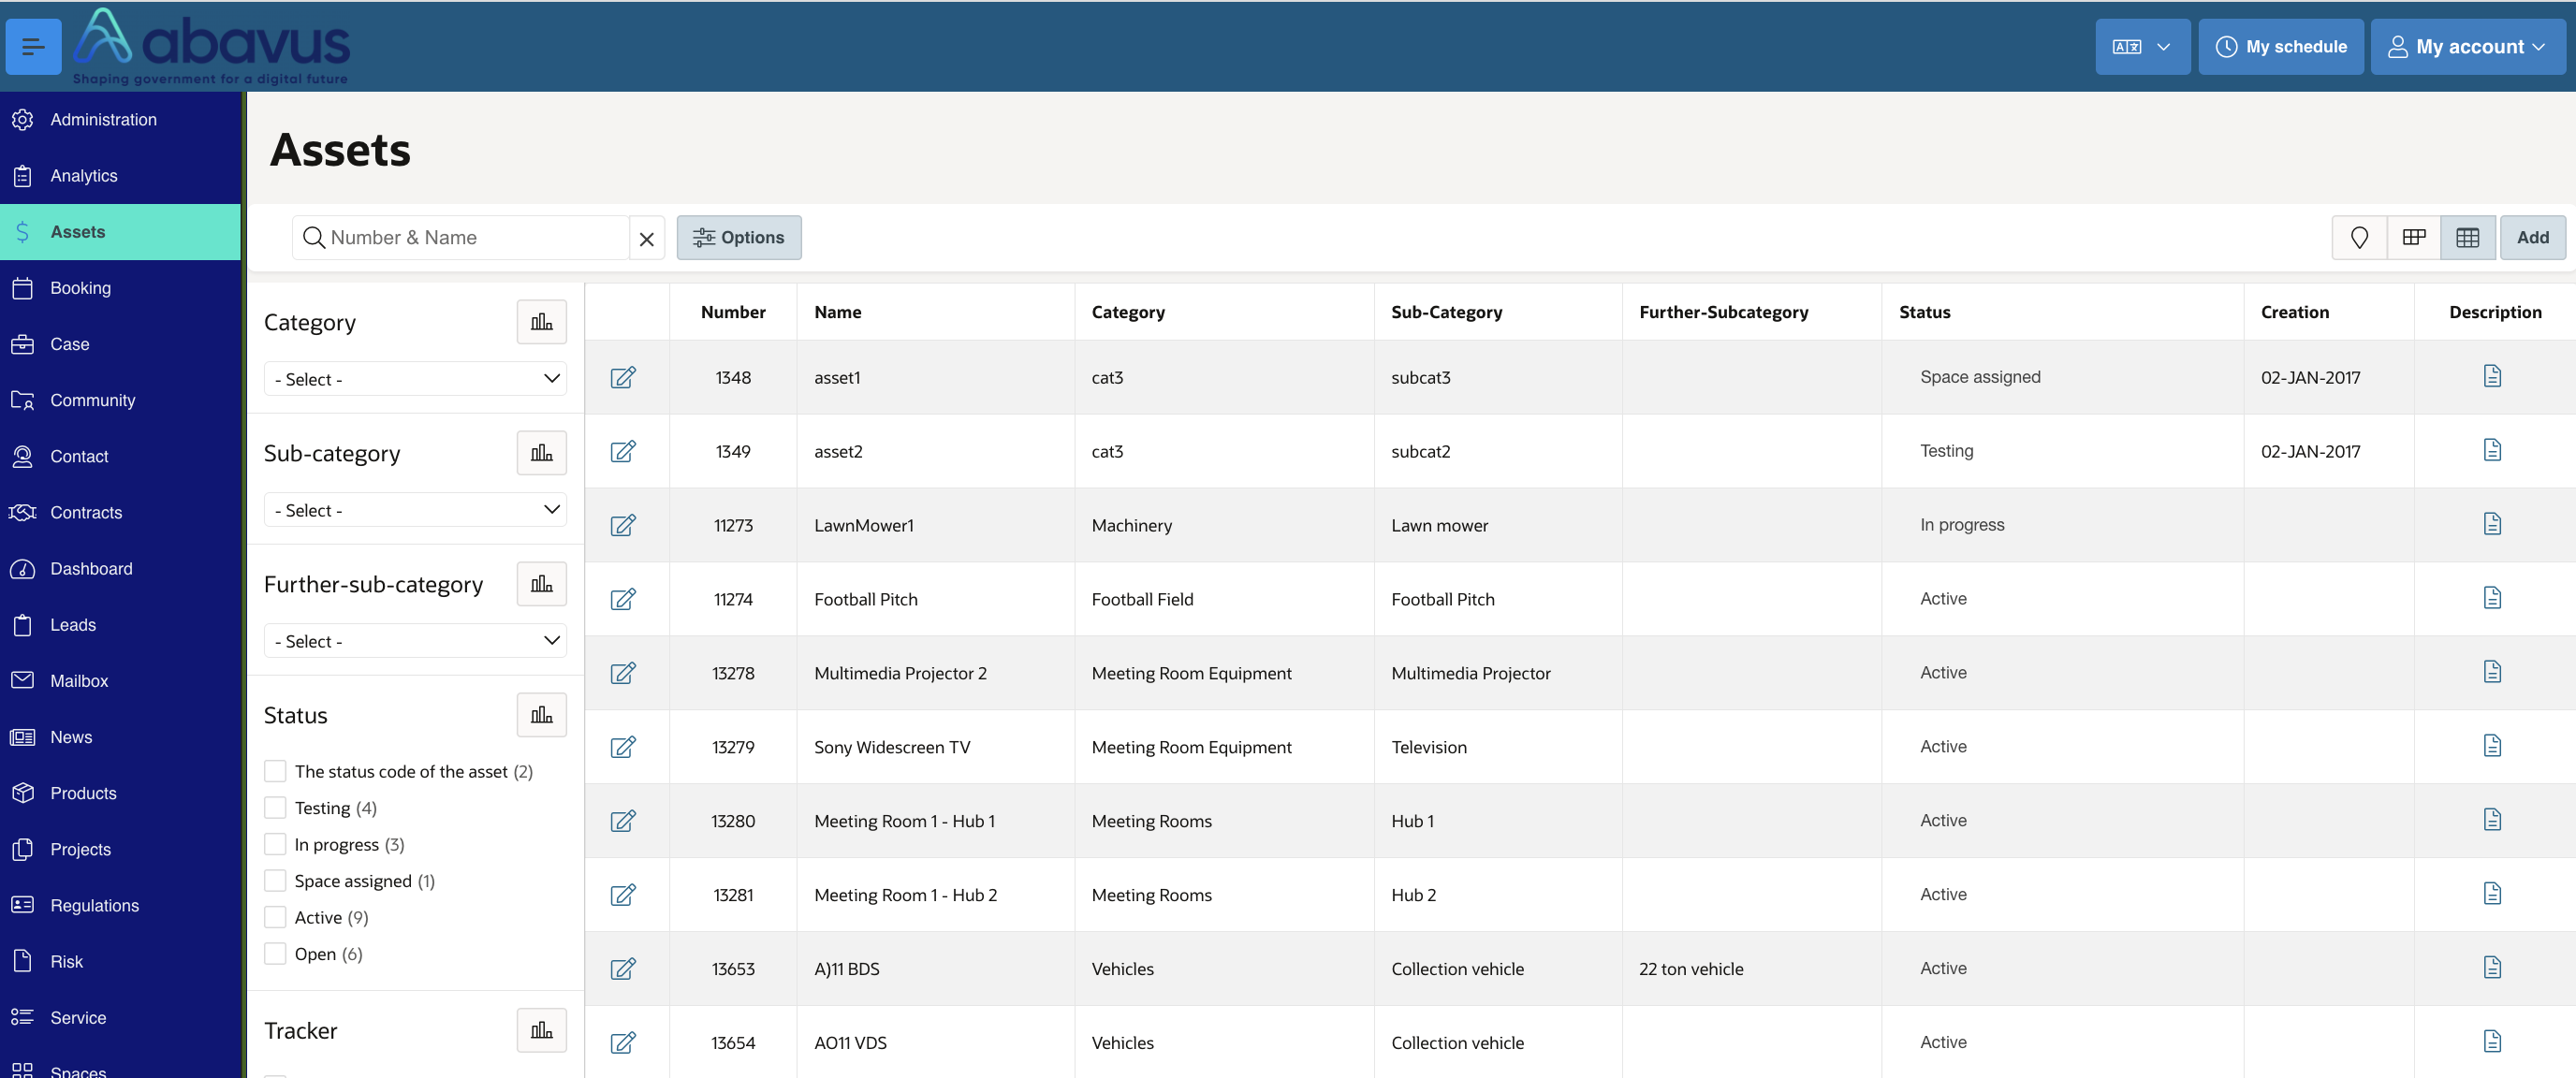
You will now need to create the Asset itself. Click on "Assets" in the sidebar to bring up the following.
Click on to begin creating the Asset.
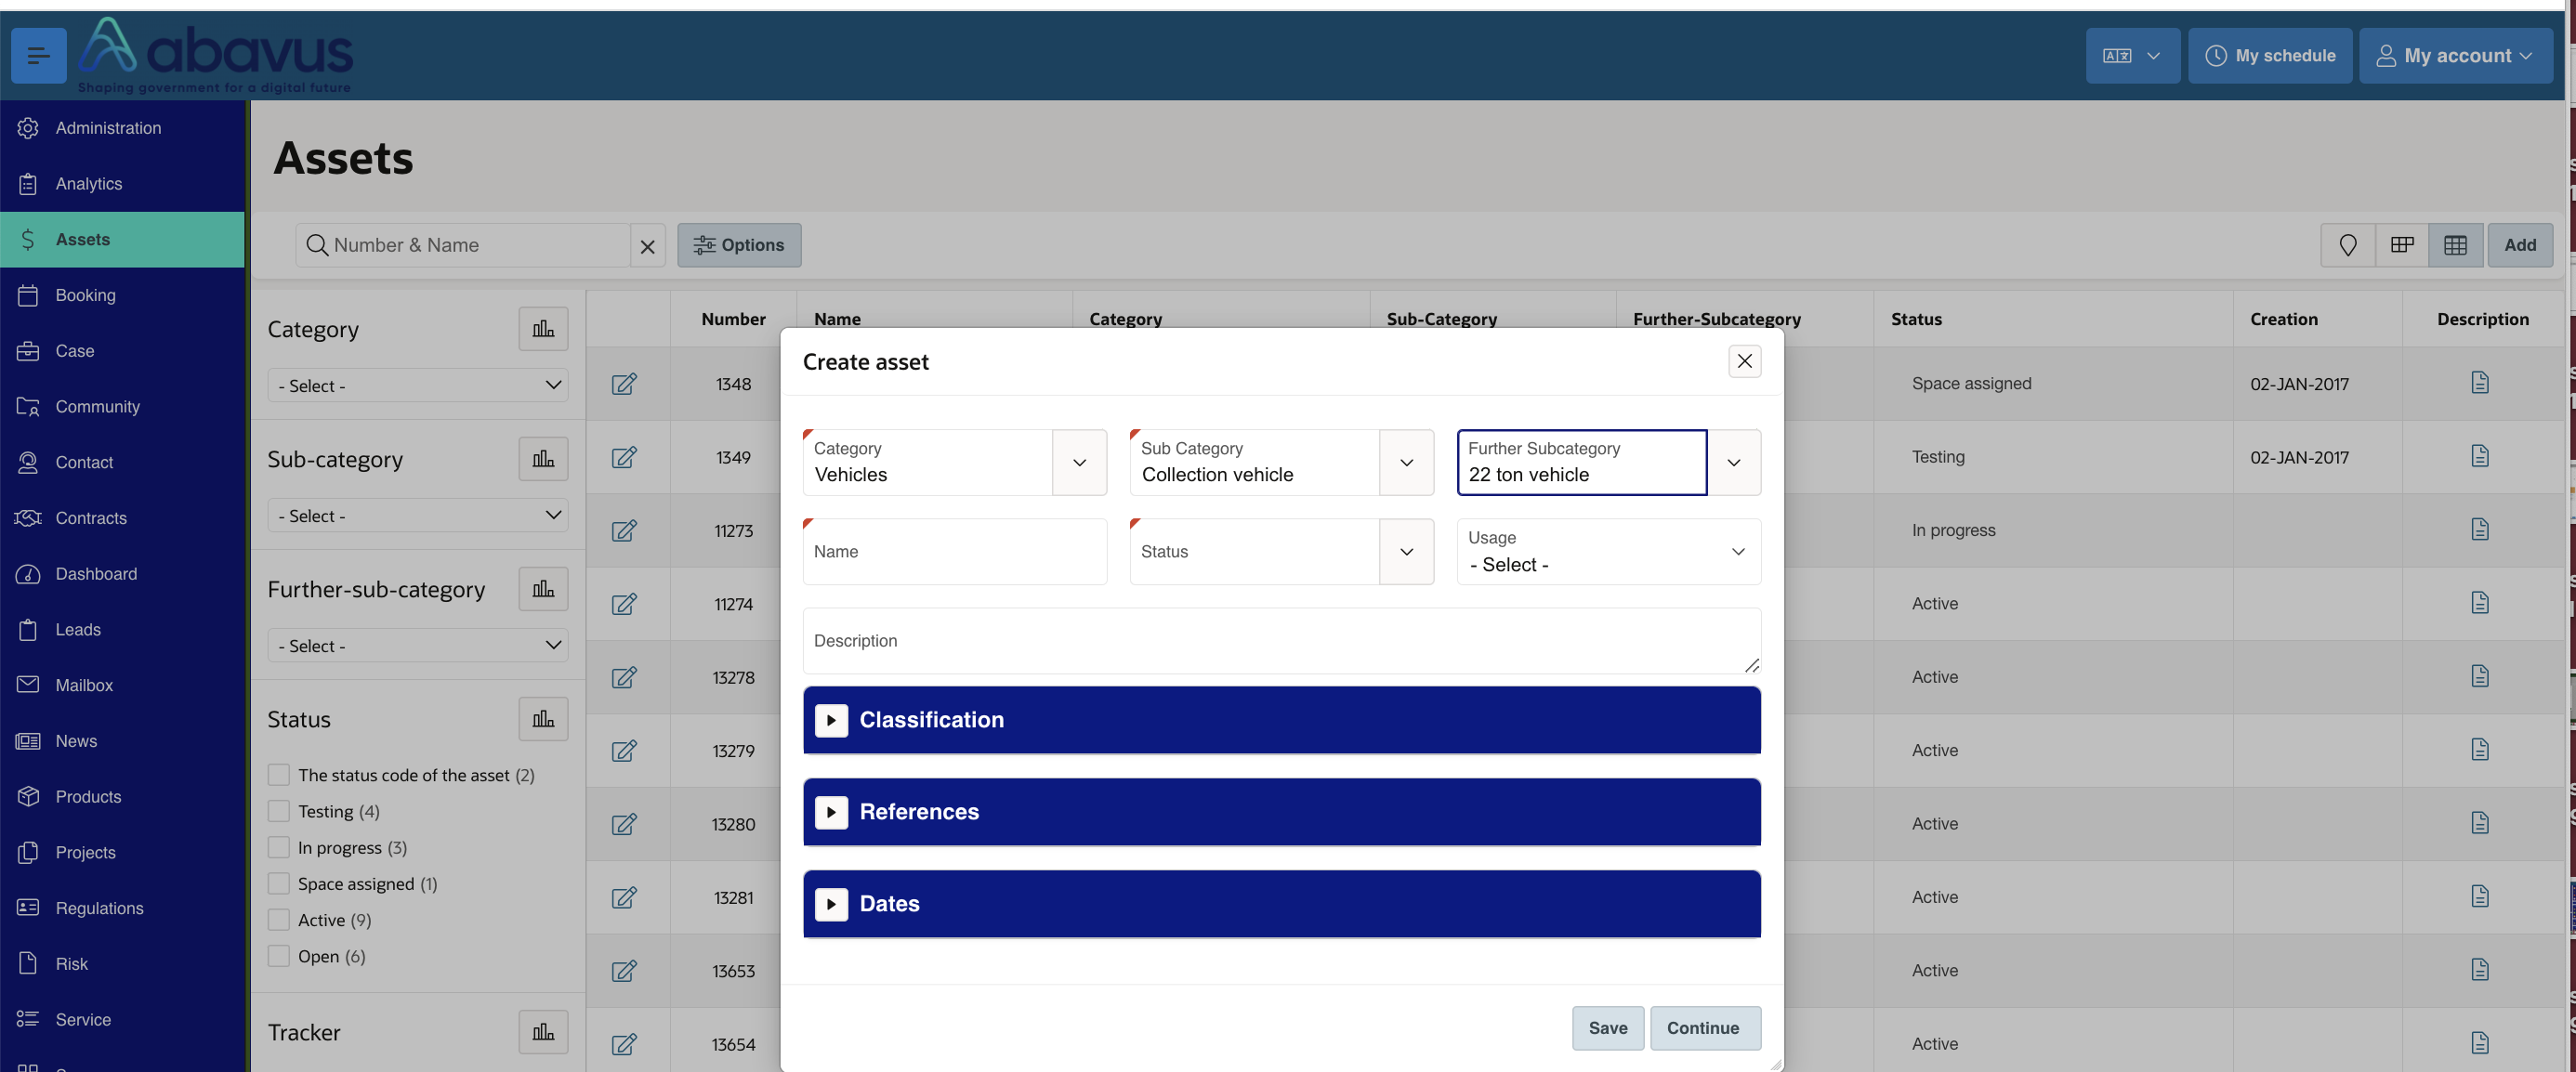
The following pop-up will appear. Select the Category, Sub-Category, and Further Subcategory you created. Give the Asset an appropriate Name, and a Status to denote availability.
These are the only mandatory fields, so click on to create the Asset.
If you have an appropriate Asset, go to Administration -> Bookings and Appointments
From here, you can access settings and configurations to manage Bookings.

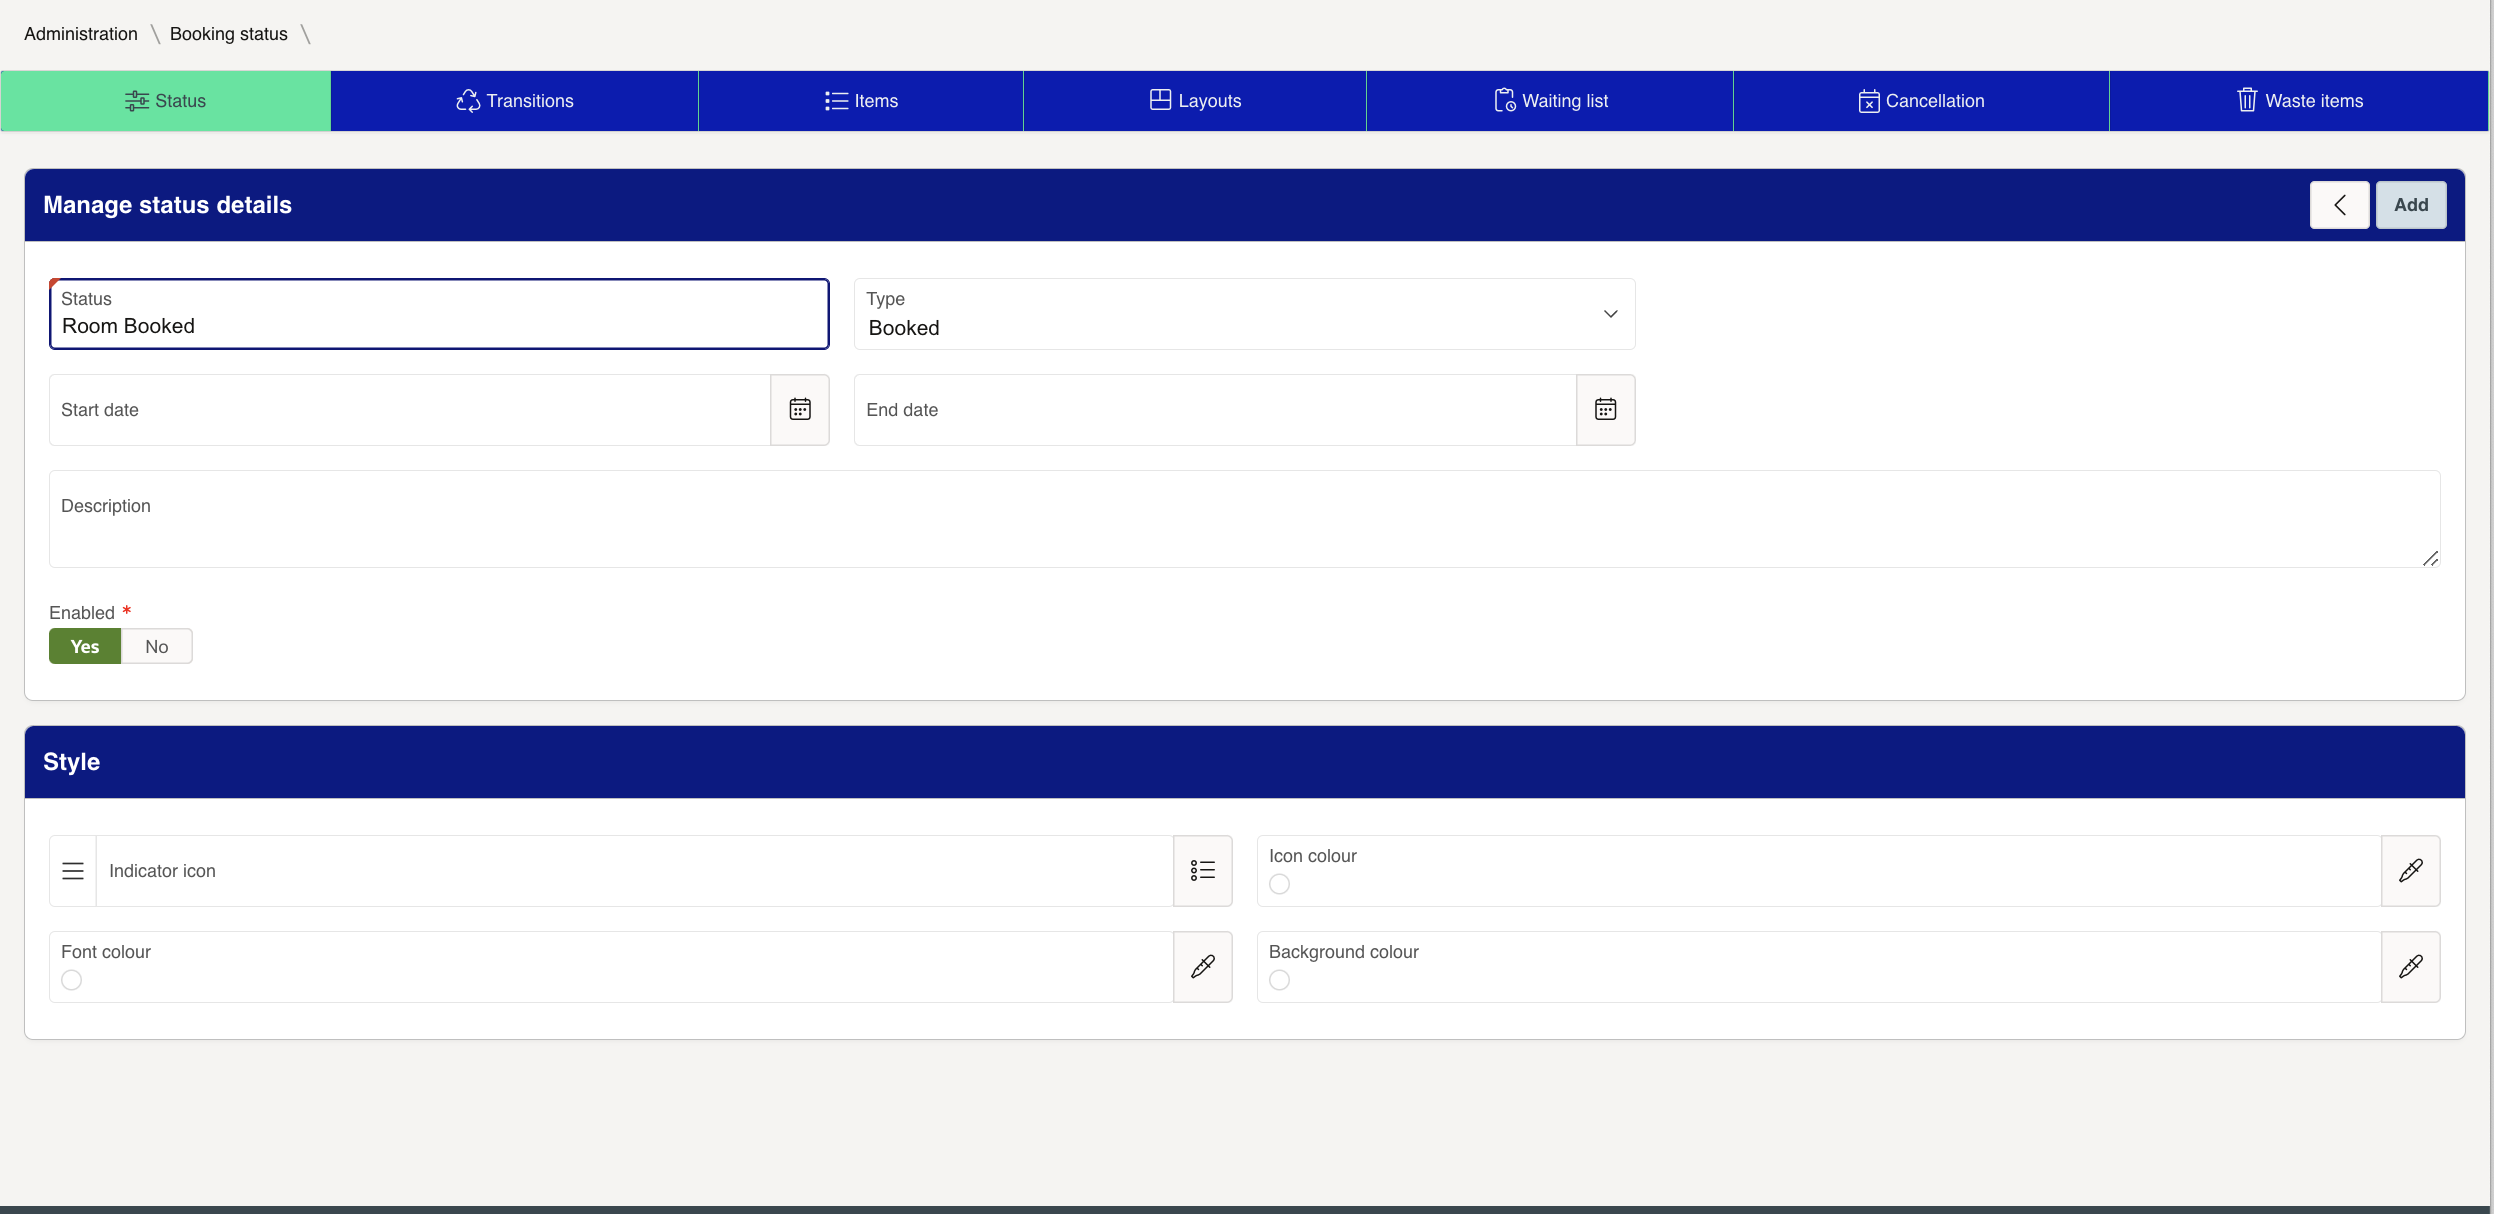
Define and manage different Room Booking "Statuses". These Statuses are dynamic.
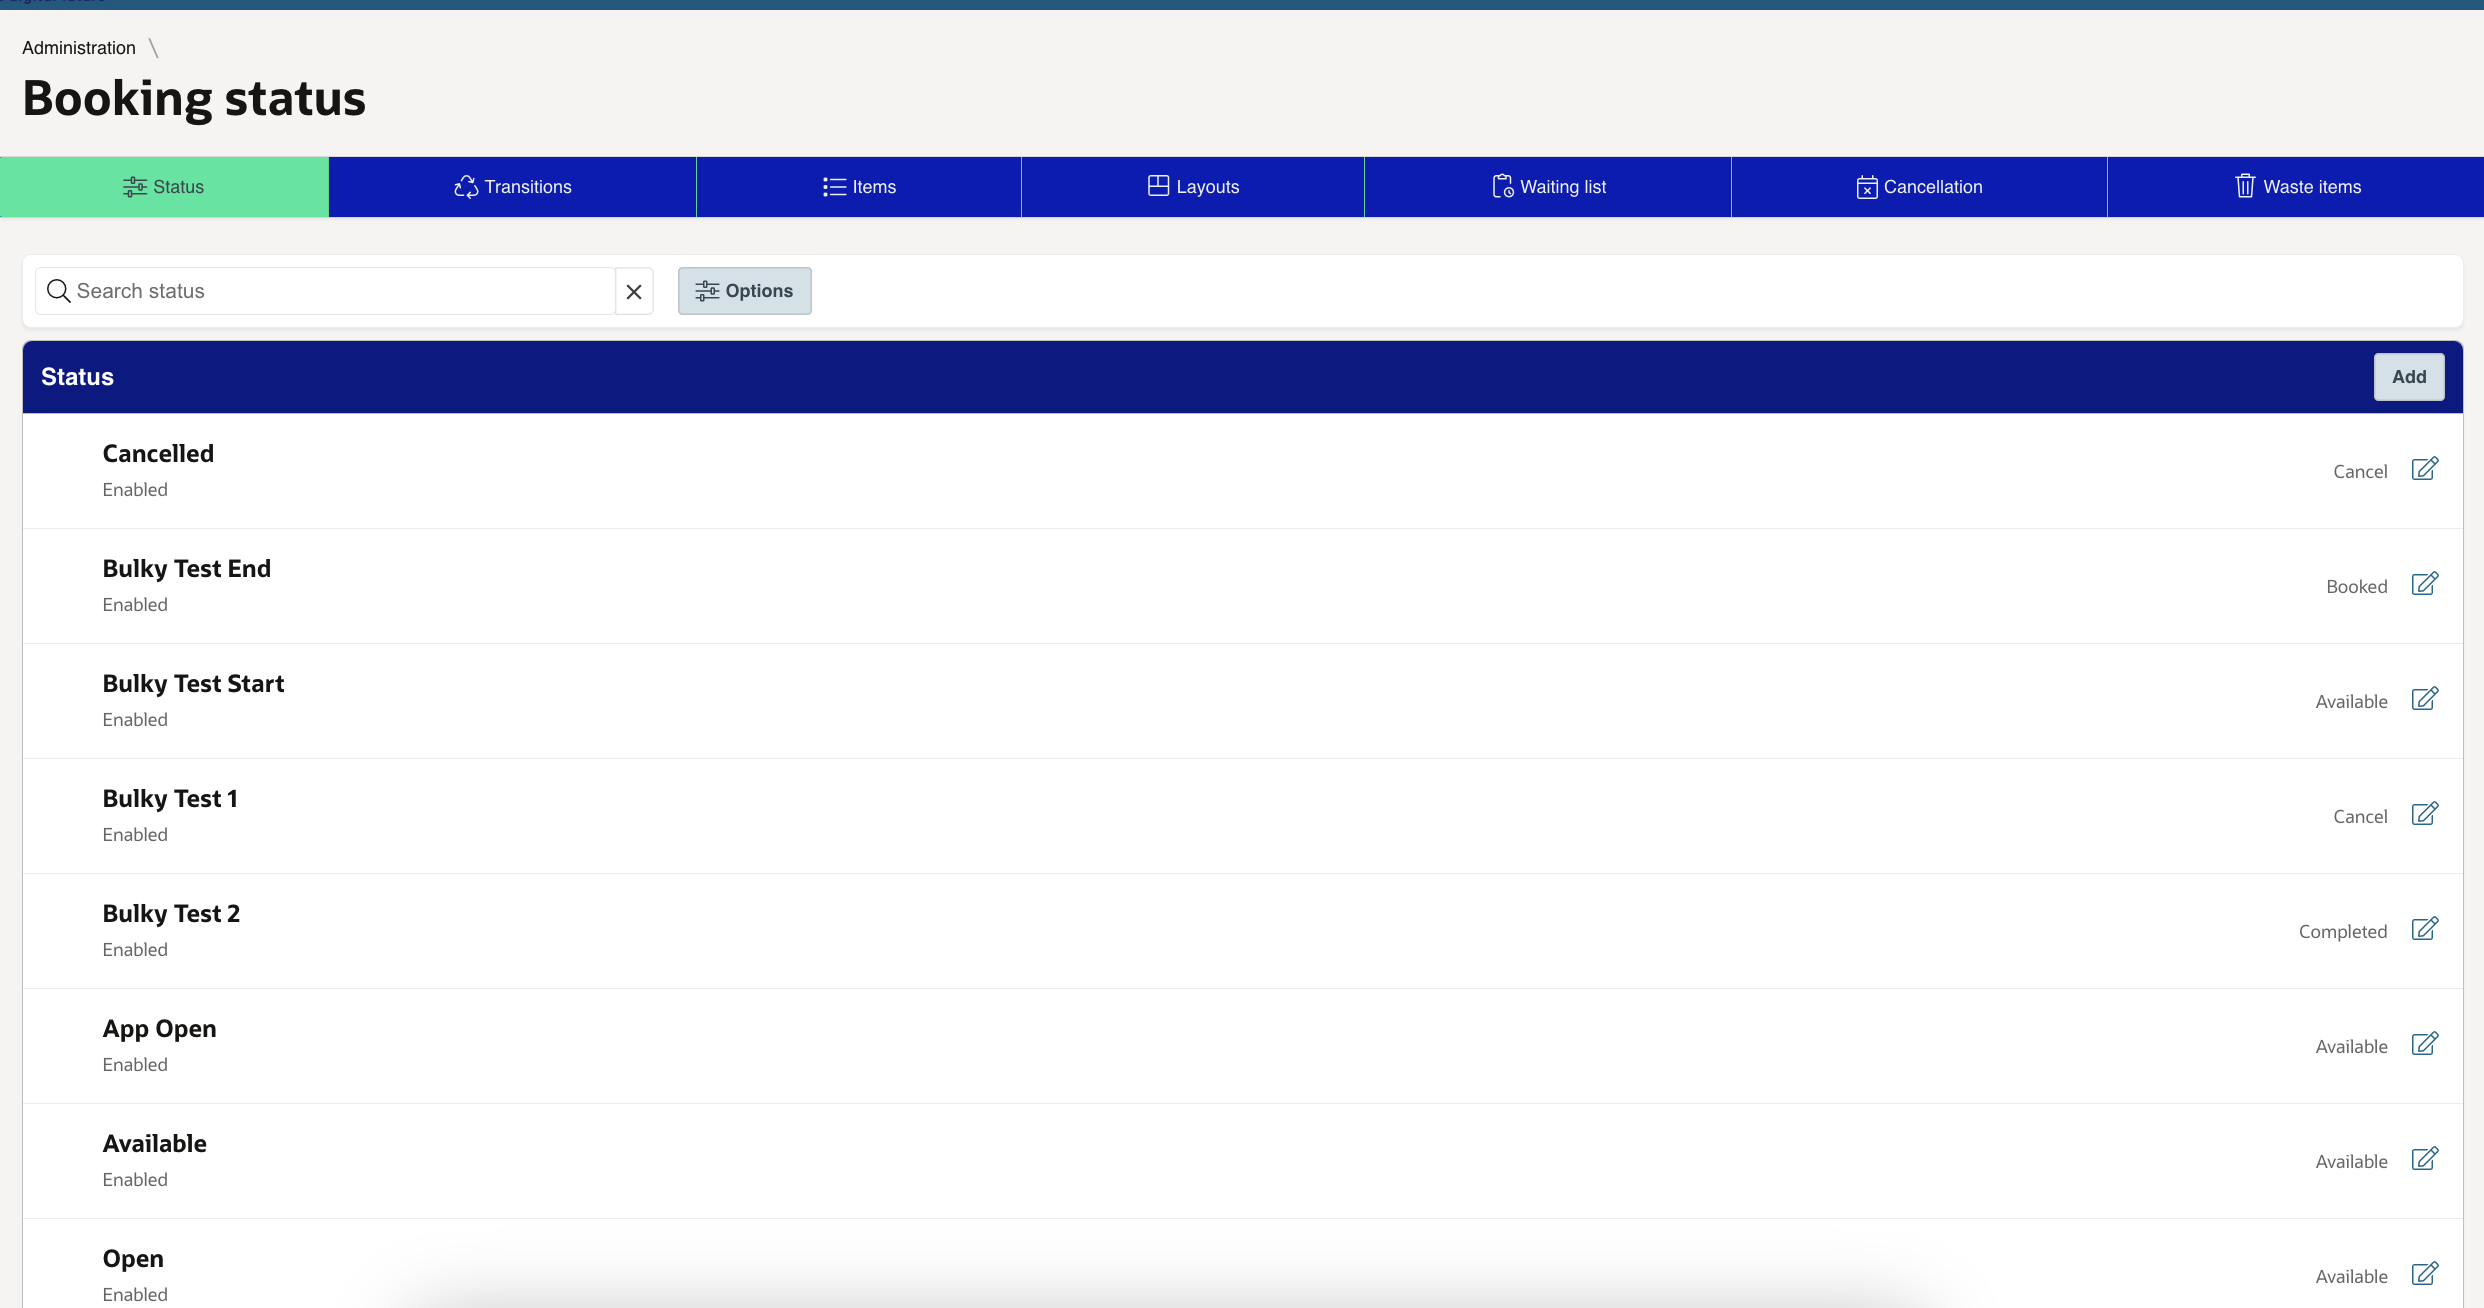
Click on to start creating a new Status.
Enter the relevant information. Only the Name and the Status Type (e.g. Available, Booked, etc) are mandatory.
Click on to finish.
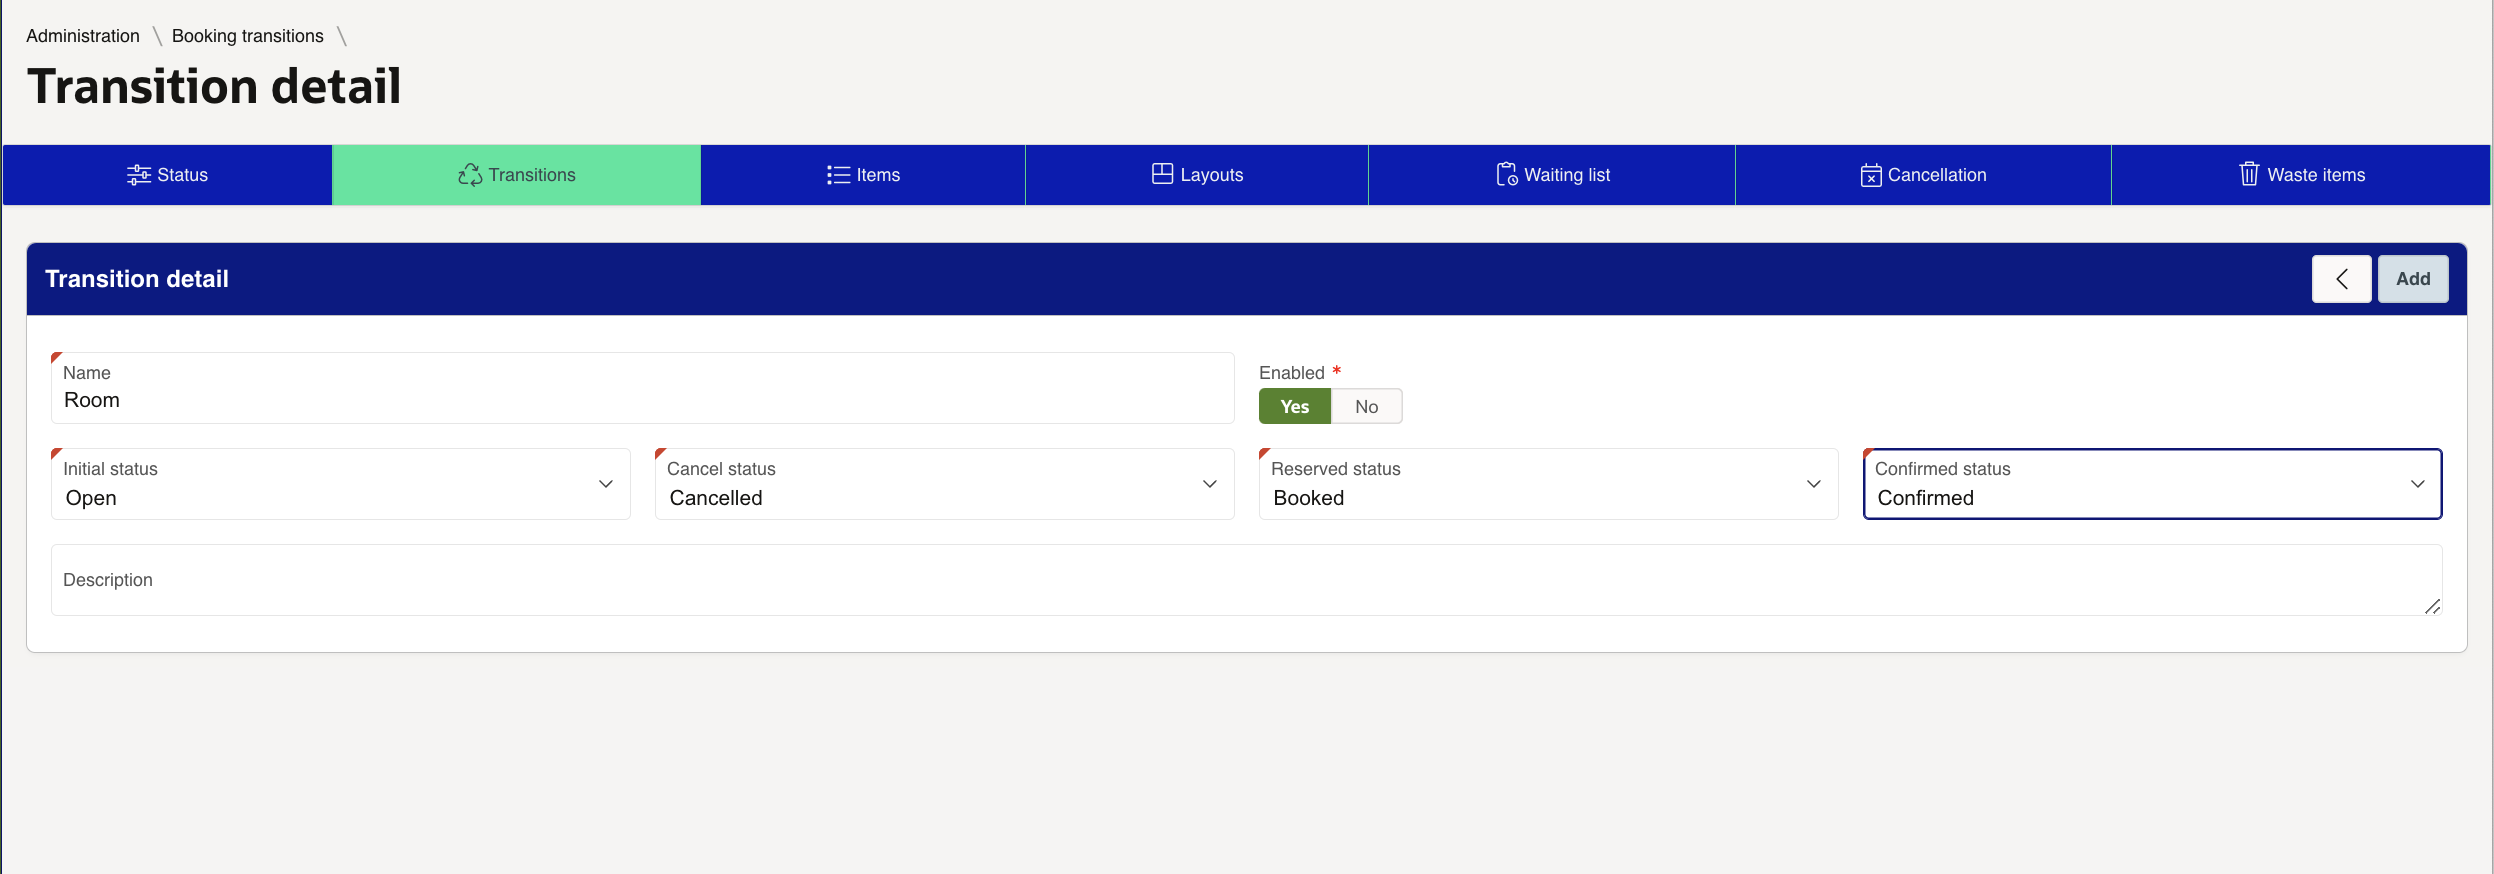
Booking Transitions allow Admin Users to define and manage the Status Lifecycles for Room Bookings. This allows for automation of Statuses at each lifecycle stage.

Click on to start creating a new Transition.
Enter the relevant information. You will need to enter a Name, and configure four Booking Statuses - INITIAL (Booking Available), CANCEL (Booking Cancelled), RESERVED (Booked), and CONFIRMED (Booking Completed).
The INITIAL Status is the default Status that will occur at the beginning of the transaction. The CONFIRMED Status is the final Status that will occur at the end of the transaction.
Click on to finish.
Before configuring Bookable Room Items, you will need to add a Room Layout. This will form the basis to create and book different room shapes.

Click on to start creating a new Room Layout.
Enter the Style name (i.e. the shape of the room). The description can be used to enter more specific information regarding the room's shape and purpose.
Click on to finish.

Bookable Room Items
"Items" refer to the Booking Items that customers can book. You can search for Room Booking Items using the search bar, or the Filter button next to the search bar.

Click on to start creating a new Booking Item.
Give the Item a Name, and set the Type to "Room". You will also need to select the relevant Transition.
Click on to create the Booking Item and go back to the list.
It's advised that you click on to configure further details.

You will be taken to a page with many configurable options.

Select the Asset Category related to this Room Booking item. This list is based on Asset Categories configured on your system.
Select the Asset Sub-Category (mandatory) and Further Subcategory (optional), based on the configurations required.
Select the Item (specific Room) and relevant Transition.
This section allows you to set the basic Room Booking parameters.
Enter the hourly cost of the Room Item, in the relevant currency.
Set whether bookings can be cancelled or not. If enabled, set the deadline that bookings can be cancelled before they go ahead.
Set the Start Date and End Date that this Room Booking will be available for customers to book.
Advanced Booking settings allow you to specify the duration of bookings for this room.
Specify whether the room is suitable to access for disabled people, and whether it is equipped with hearing aid support.
You can also specify the Minimum and Maximum number of attendants for the room

You can view the entire history of changes related to the bookable Room Item.
Admin Users can add details, like Name and Description, for one or more pieces of fixed equipment available in the room.
Add catering details, if applicable. Provide a Name for the catering, the Pricing, and the Service Provider. You can also add a Task related to this service, if required.
Choose the room layout from the list. Specify the time required to set up the room before the booking. The Min/Max Attendance is optional.
Select the type of time constraint if required: Pre meeting, During meeting, and Post meeting. Specify the duration, and this will be added to the booking time as applicable.
Admin Users can set up a time when the room cannot be booked. Add a description for the cause, and set up the Start and End Dates.
Admin Users can create a Task to go along with bookings for this room. Multiple Tasks can be added. Each Task requires a Name, a Type, an initial Status, and a duration.
Admin Users can control how and when to notify different people about the booking. Select when to send the notification, and who to send it to.
Choose the sending method, and configure the content of the notification itself. Note that a Template is required for Push, Email, and SMS notifications.

Admin Users can include any Terms and Conditions by typing or pasting the content into the field. There can be multiple Terms and Conditions added to a booking.
Add any additional information related to the booking.
Admin Users can configure Rules to trigger actions based on events related to the booking. Select the relevant event, enter a subject, and select the Task Type and initial Status. You can also have the Booking Information and/or Customer Information to be copied to the Task.
You can add the address details of the Room Booking.
You have the option to Delete this bookable Room Item.
Configuring the Room Booking plugin on a Form
This Room Booking will now display within the Room Booking plugin in Forms Builder. You will need to add the Room Booking plugin as an Item to your Form.

IMPORTANT
The Item Code must be P_BOOKING_ROOM_PLUGIN in order to process payments correctly. Likewise, you will also need to configure a Payment plugin Item on a proceeding page.

When using the Room Booking plugin, you will now be able to specify the exact room you want to book, on a specific date.
You can also go into Bookings > > Room Booking Calendar to see all of the room bookings that have been made against a certain Asset.
Was this article helpful?
That’s Great!
Thank you for your feedback
Sorry! We couldn't be helpful
Thank you for your feedback
Feedback sent
We appreciate your effort and will try to fix the article